
How do I send a document for signing?
Upload a PDF, add your signers, place their fields, then review and send. Each signer gets an email with a secure signing link.
Updated
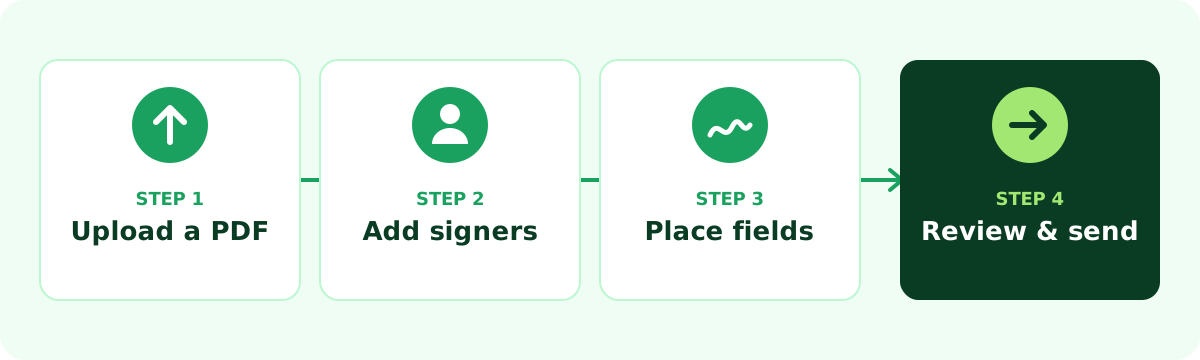
Sending a document takes four steps: upload the PDF, add signers, place fields for each signer, then review and send. You need to be signed in to your Demand Signatures account.
Upload your document#
- Sign in and select Upload Document on your dashboard or on the Documents page.
- Enter a Document title. It defaults to the name of the first file you add.
- Drag your PDF onto the upload area, or select it from your computer. You can add several PDFs; they are combined into one document in the order shown.
- Select Upload & continue.
Tip
Only PDF files can be uploaded, up to 50 MB each. See What file types can I upload? if your file is a Word document or an image.
Add signers#
- In Add signers, enter each signer's email address and name.
- Select Add signer for each person. Select Add myself if you also need to sign.
You can edit or remove a signer until the document is sent.
Place fields#
- Under Field recipient, choose the signer the field belongs to.
- Drag a field from the panel onto the page where that signer should fill it in. Available fields are Signature, Initials, Full Name, Email, Date, Free Text and Checkbox.
- Repeat for every signer.
Note
Every document needs at least one signer and at least one field before it can be sent.
Review and send#
- Open Review & send and check the signers and the email preview.
- Select Send for signing.
- Optionally add an email subject and a message for your recipients. If there is more than one signer, you can also set the signing order.
- Confirm to send. Each signer receives an email with their own signing link.
You can follow progress from the document's page, where you can also send a reminder to anyone who hasn't signed yet.